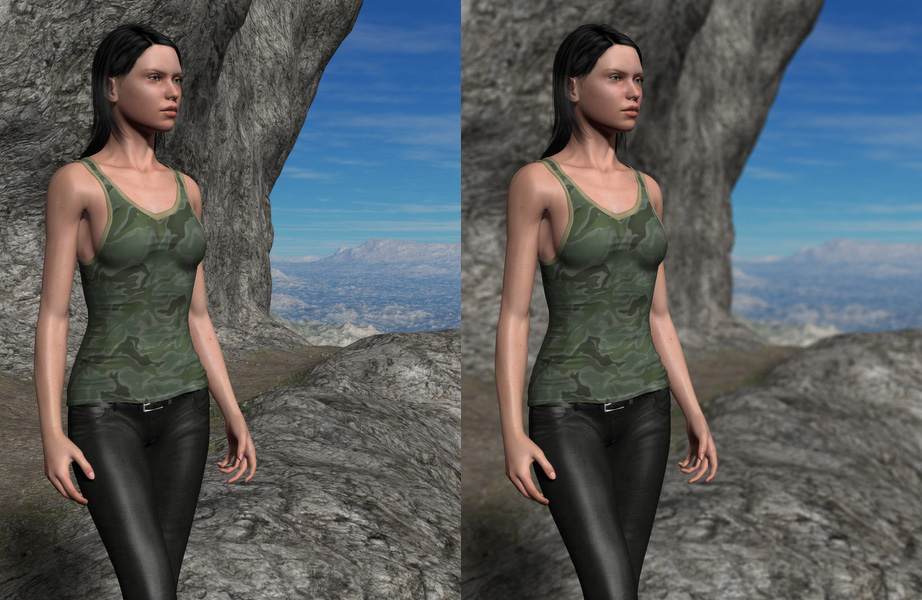
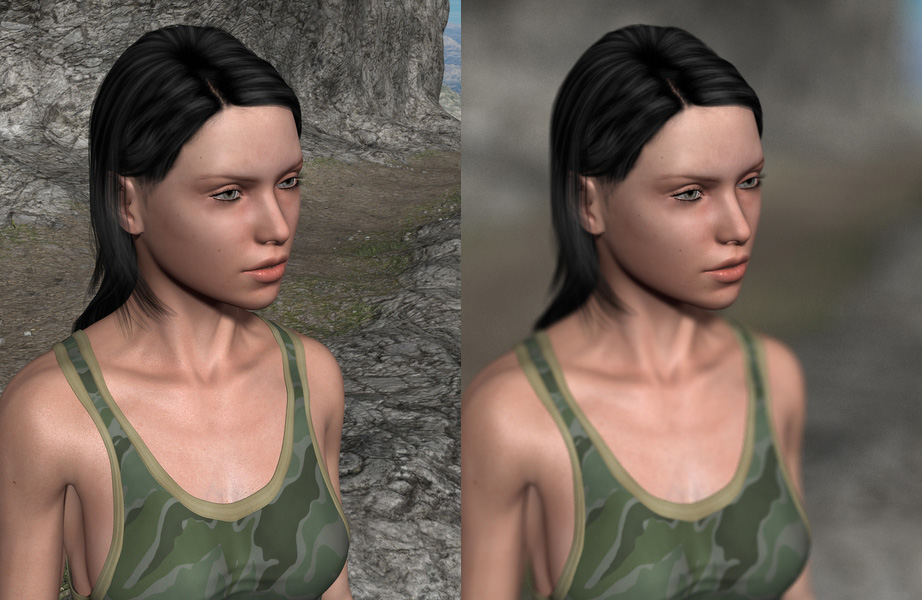
Depth of Field ( Daz Studio)
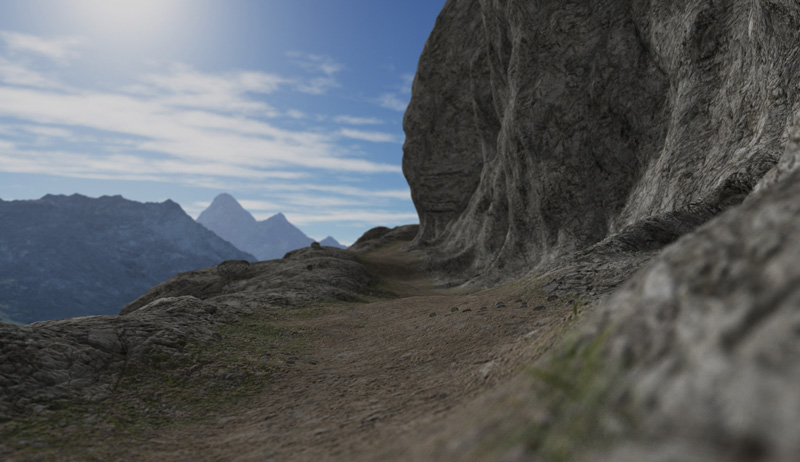
Here`s a quick step-by-step tutorial for using depth of field on Daz Studio. You`ll see it`s actually incredibly easy to set up.
Probably the hardest part is to decide when and how much to use it.
I for one think of it as a tool to highlight parts of a scene, in example to draw the focus towards a character.
Well, let`s get started.
1) Create a new camera.
You can`t use depth of field with the perspective view (the Daz Studio start up cam), so you need a new camera.
To create one, go to the “Create” menu, and select “new camera”, or simply click the new cam icon.
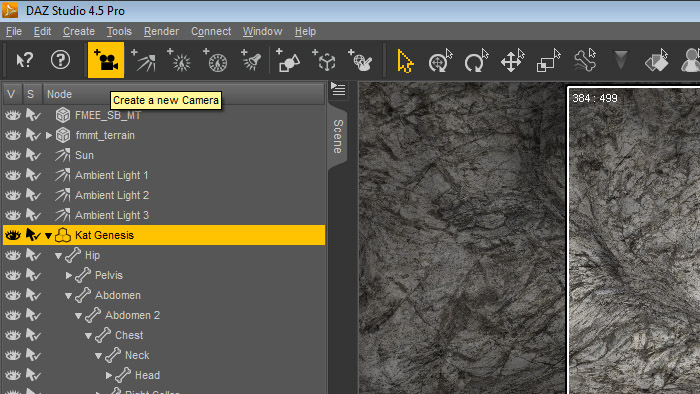
2) Use the new camera.
Change to the new camera by choosing it from the menu in the navigation section.
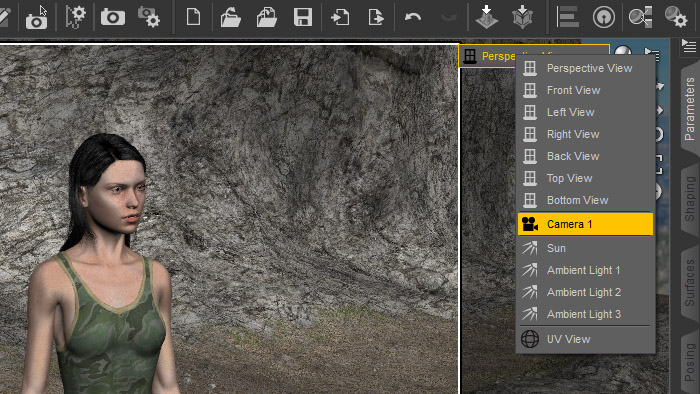
3) Frame the part of the scene you want to be in focus.
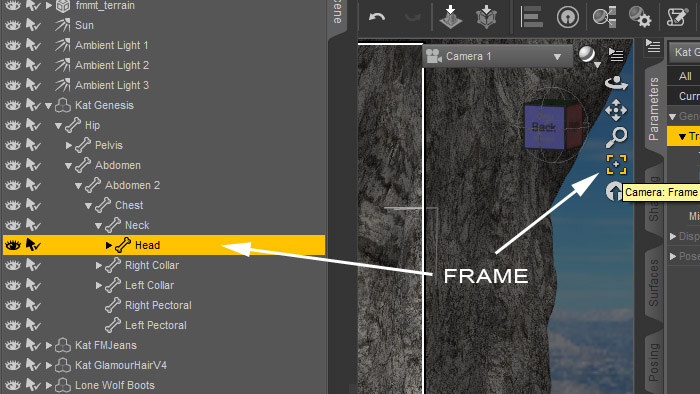
This is the cool part, a nice little DS feature. Select the part you want to be in focus, let`s say the head of your character.
You can select it right in the scene, or in the object list, it doesn`t matter.
Now “frame” that part by using the frame icon in the navigation section.
This tells DS which part you want to be in focus. You can keep moving the camera, DS will try to keep that focus.
4) Turn depth of field on.
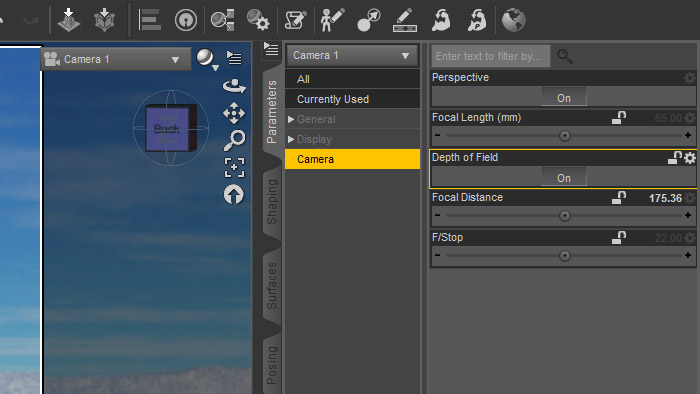
With your camera selected, go to the camera settings.
If you don`t have the Camera tab active, you can also find them in the Parameters tab, under “Camera”.
Turn “Depth of Field” on here.
If you want you can do a test render now, you should already see the blur effect, chances are it already looks decent as well.
5) Finetuning.
Below the Depth of Field button you have the two other relevant settings.
“Focal Distance” defines the focus, the center of the not-blurred area. This is the value we have already set by using the frame function.
“F/Stop” defines the size of the sharp area. The smaller the value the smaller the sharp area (=more blur).
Now those values are not likely to tell you much, so we want to see a visual representation of what`s going on.
Switch back to the perspective view, try to find a good overview spot, which shows you both the object you foucus on and the camera, and have the camera selected.
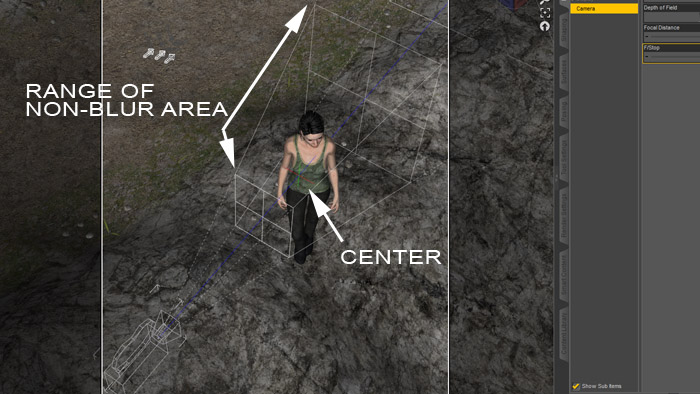
You`ll see the selected camera gives you good visual clues about depth of field.
There is a small colored crosshair, which represents the focus/focal distance. It`s probably hidden inside your focus-object right now, but if you use the focal distance slider you`ll see it.
There are also two “planes” representing the F/Stop value, the sharp area of your render.
Just use the F/Stop slider and you`ll see them moving. If you can`t find the planes, set F/Stop to zero and slowly increase the value.
6) Good to know:
The framing we did (3) is not mandatory at all, but it`s a great way to set up the base values for depth of field. The F/Stop value it sets up for you depends on the size of the object you are framing. E.g. framing the eye of a character gives you an entirely different result than framing the whole character. If you use this with some thought you`ll usually get good results right away.
Well, that`s pretty much all. Have fun blurring 😉
Examples (somewhat overdone to show the effect)
