FM Wetmaps Info
Wet, Sweat & Rain for Genesis 2 Female(s)
Table of content:
1) Compatible Genesis 2 Female(s) skins
2) Tips for working with the wetmaps
3) Tips for working with the rain props
4) Preview images for all wetmap presets
1) Compatible skins
You can use the wetmaps with any skin that uses either the “Base Female” or “Victoria 6” UV-Set. Skins which use the UberSurface shader work out of the box, those using alternative shaders will require some adjustments.
Here`s a list of the skins I know about (of course that`s by far not everything available).
Please note that skin and shape are not linked on Genesis 2 Female, e.g. you can use the Olympia shape with the Bree skin.
Compatible skins: Bree, Ambie, Izzy, Kori, Lisa, Norma, Nyssa,
Compatible, but requires shader tweaks: Belle, Nidale, Josie, Vianne
Not compatible: Aspen, Gia, Girl 6, Olympia, Stephanie 6, Tiziana, FW skins (the ones I have)
Also compatible (info provided by users on the Daz forum, thx!):
most Genesis 2 Female skins by Artemis3D, most Genesis 2 Female skins by Silver, OutOfTouch’s Fiends Forever girls, AntFarm’s DeathcapHD
As for the “compatible but requires tweaks” skins, turning on / adjusting ambience seemed to be a good start, in case of Josie that was all I did for the Preview render.
How to figure out if a skin is compatible:
Select your figure, go to the surfaces tab, go to legacy surfaces, select any surface from groups 1 to 3. Find the UV-Set entry, if it says “Base Female” or “Victoria 6” the wetmaps will work on the skin. Additionally, on top of the surface window you can see the used shader, if it says “omUberSurface” it`s 100% compatible, if it says anything else you can apply the wetmaps but will have to re-adjust the surfaces.
2) Tips for working with the wetmaps
Basicly it`s as easy as it gets: Select any Genesis 2 Female figure with a compatible skin, and double-click one of the wetmap presets. Done ! 😉
Note: The preview window will only show a change in brightness, the drops only appear in the render.
What do the modifier presets do?
– “Modify cold/warm spec” changes the color tone of the specularity. It`s a subtle difference.
The majority of wetmap preloads starts with a cold tone.
Loading another wetmap preset will overwrite the specular color.
– “Add EM Refl.” adds environment-map reflections. Again, it`s a rather subtle effect, people don`t reflect like mirrors, even when wet. 😉
I decided against raytraced reflections because they can look pretty bad if you don`t have a proper environment covering the scene. However, if you know what you are doing it`s worth experimenting with raytraced reflections.
Loading another wetmap preset does not undo reflections, you have to use the “reflections off” preset, or turn them off manually.
Here`s some additional infos for those who want to do their own teaks:
– The affected surfaces are in the groups 1,2,3 in the legacy surface section. Have all those selected if you want to do changes.
– Specular 2 runs the base coverage (drops, runlets), Specular 1 does the highlights.
Usually you`ll find a brighter (=stronger) texture in the Specular 1 channel.
If needed you can set Specular 2 above 100% by unlocking limits in it`s properties (cog wheel icon).
3) Tips for working with the rain props
Once again, the basic use is easy, just load the prop.
You can use the direction morphs to …give the rain a direction. 😉
However, you might want to change the strength of each part. It`s impossible to do a “fits-it-all” setting … e.g. against a grey background you`ll see less rain than against a red one.
So, for the rain and splashes the main setting would be oppacity, higher values make the rain more visible.
The puddles usually need to be tweaked to fit the environment. To adjust the brightness you best change the reflection color, it has stronger influence than the diffuse channel.
The distortion of the reflections is driven by the bump map, higher values mean more distortion.
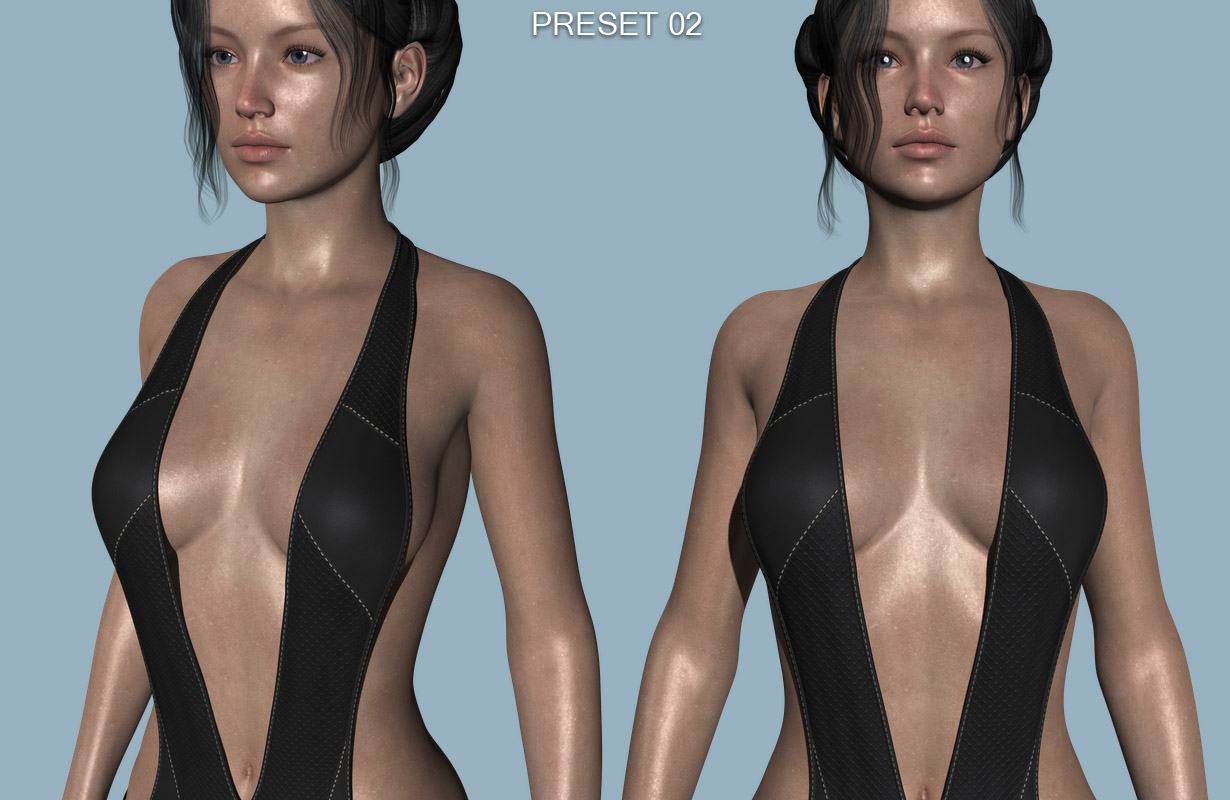
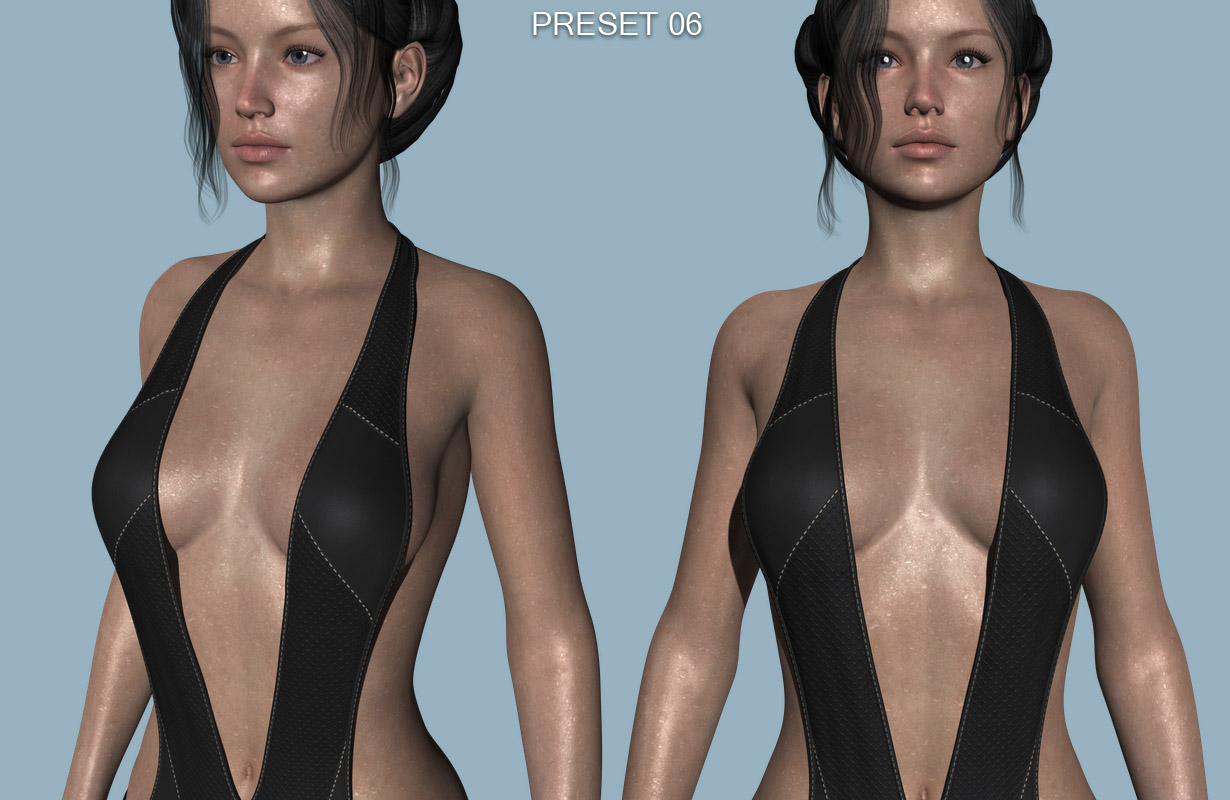
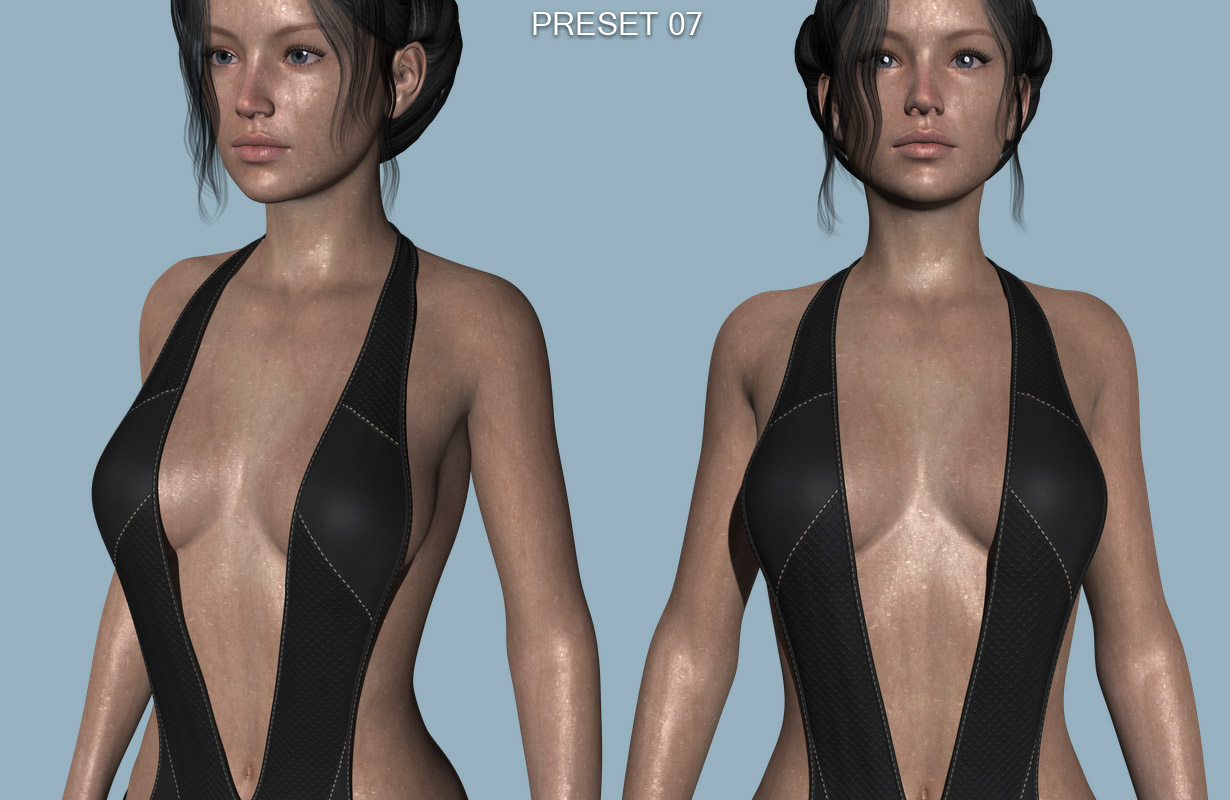
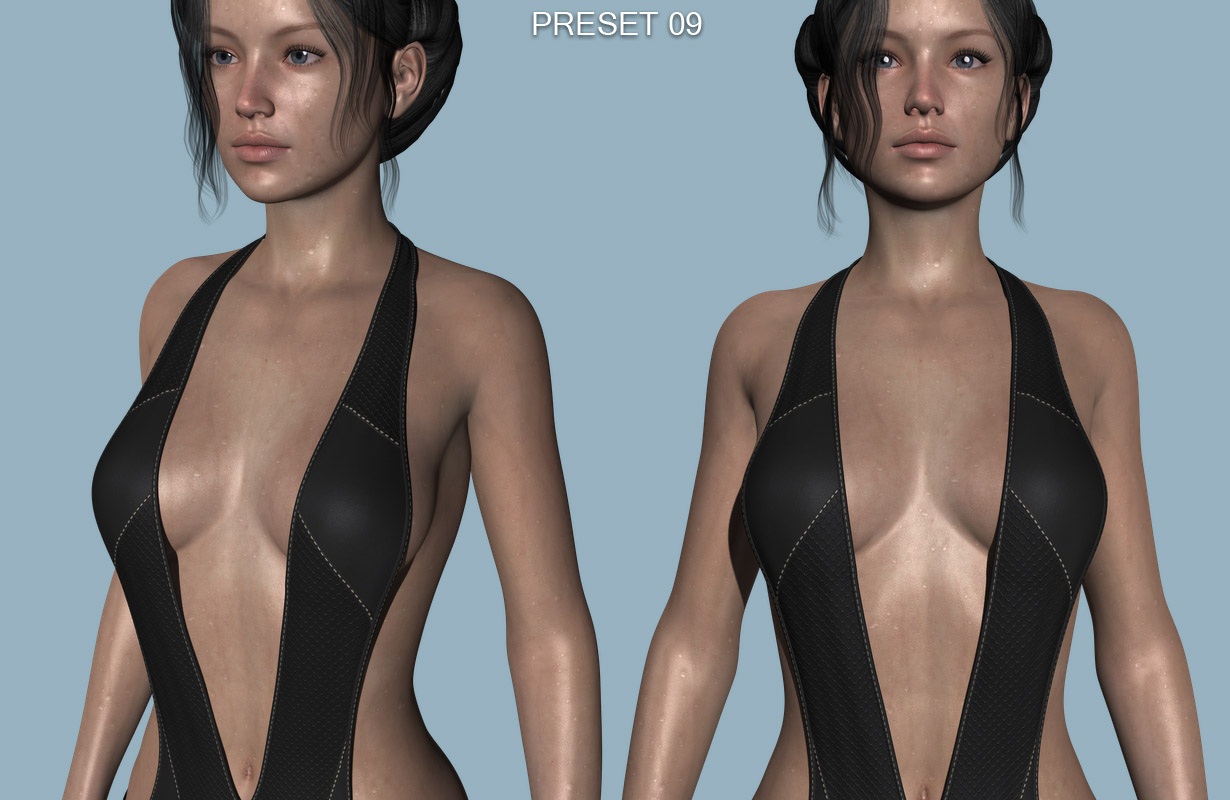
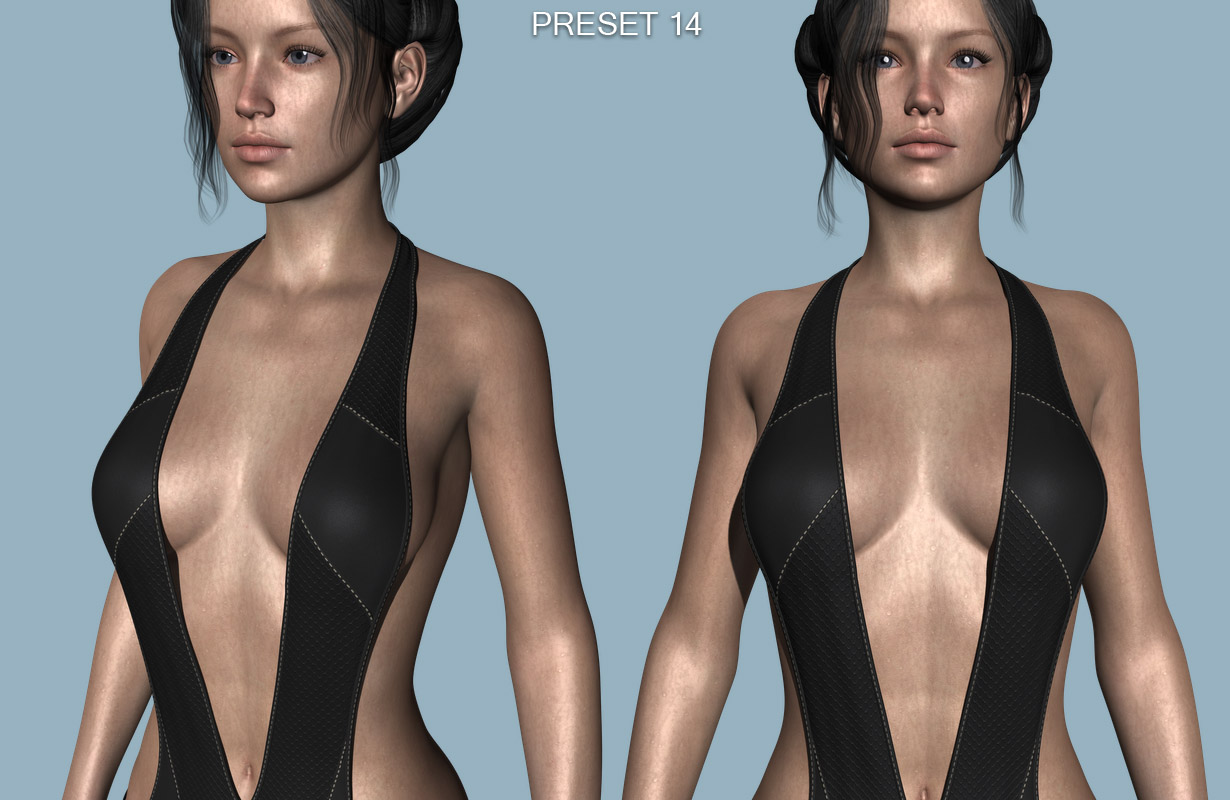
4) Preview images for all wetmap presets
Those are the 14 base presets, rendered with cold lighting. Most of them have “face-free” variations not displayed here. You can further alter the presets with cold/warm specularity and envmap presets.